Episode 20 - Making a stop sign
night light
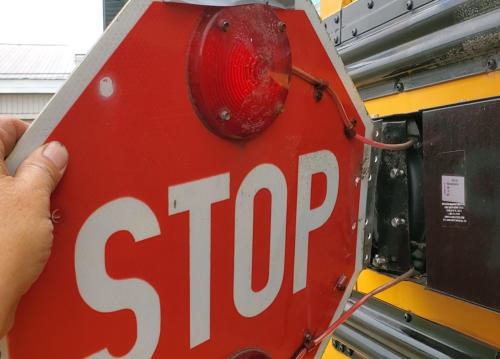
Last fall when I removed the
swing-out stop sign from the
side of the bus, I decided to
keep it in case another
purpose for it arose. Recently
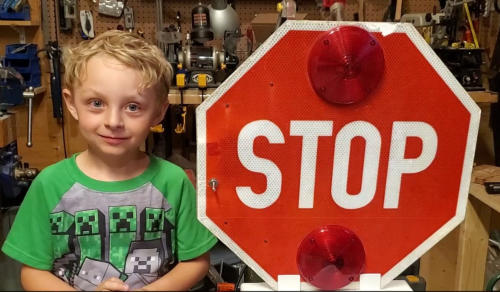
I decided to make it the heart
of a building project I would do
with my almost-six-year-old grandson Edison. We would
mount it on a base, swap in LED bulbs, add a power supply
and a switch, to make it into a ginormous night light.
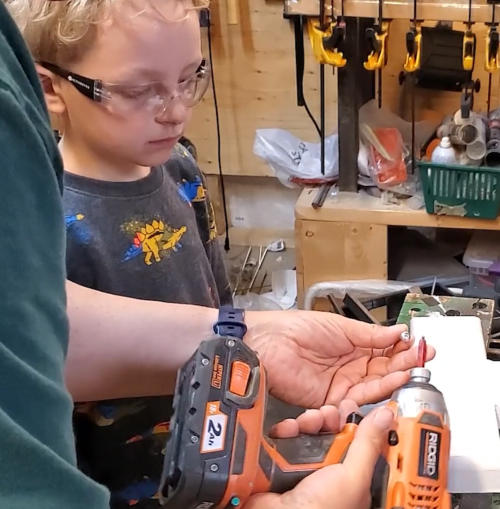
While adults new to tinkering
might find some useful
information in this episode, the
primary audience is kids. Together
we use a power drill, power screw
driver, soldering iron, volt meter,
heat gun and more.
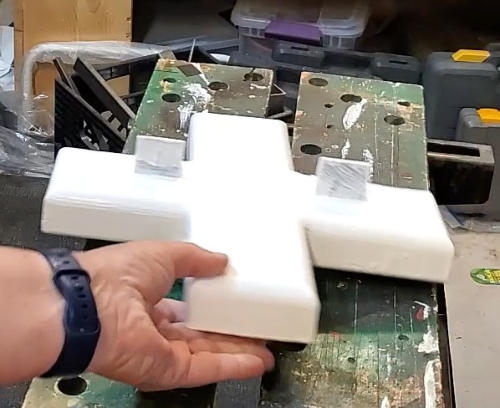
I didn’t want the project to lag, either for Edison or for the
viewer, so I made and painted the
wooden base before hand, off-
camera. It’s made from two, 1 foot
long pieces of 2x4 lumber, both
pieces notched in the middle to
form a cross. I used a router bit to
round off the edges, so it would
look a bit less like a cross made from 2x4 lumber. I made
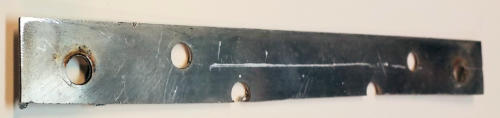
brackets from 1.5 inch angle iron I had around.
Using an angle grinder I cut off this strip from one edge of the
stop sign. That made the sign symmetrical.
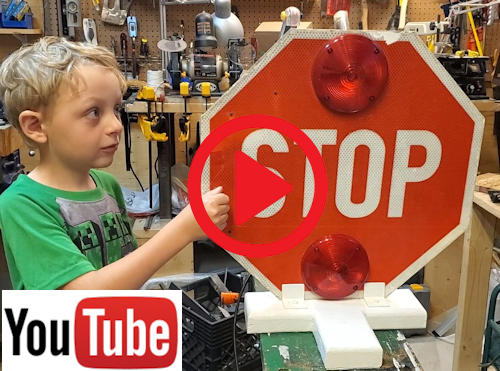
Click the image below to see episode 20 on my YouTube
channel. And while you’re there, click the Subscribe button so
you don’t miss subsequent episodes.

Copyright 2024 TheSkoolieLife.com